

Web automation and scraping have become essential tools for businesses and developers alike today. Enter Puppeteer, a powerful Node.js library that provides a high-level API to control Chrome or Chromium browsers programmatically. Puppeteer excels in tasks such as web scraping, automated testing, and generating screenshots and PDFs of web pages. When combined with AWS Lambda, puppeteer lambda becomes a powerful solution for serverless web automation.
Key features of Puppeteer
Key features of aws puppeteer include:
- Full control over a headless Chrome instance.
- Ability to interact with web pages just like a real user.
- Support for generating PDFs and screenshots.
- Automated form submission and UI testing.
Common use cases for Puppeteer range from data extraction and market research to automated testing of web applications and generating pre-rendered content for static websites.
Benefits of Serverless Computing
Before we dive into combining Puppeteer with serverless architecture, let's briefly explore the benefits of serverless computing:
- Scalability: Serverless platforms automatically scale your application in response to demand, ensuring optimal performance during traffic spikes.
- Cost-efficiency: You only pay for the actual computing time used, making it ideal for sporadic or unpredictable workloads.
- Reduced management overhead: Serverless eliminates the need for server provisioning, patching, and maintenance, allowing developers to focus on writing code.
- Event-driven execution: Serverless functions can be triggered by various events, enabling responsive and efficient application architectures.
Maximizing Serverless Puppeteer Automation
Combining Puppeteer aws lambda with serverless architecture offers a powerful solution for web automation tasks. This approach allows you to run Puppeteer scripts on-demand without managing dedicated servers.
The Benefits Include:
- Reduced infrastructure costs.
- Automatic scaling to handle varying workloads.
- Simplified deployment and management.
Moreover, by utilizing layers in serverless platforms, we can enhance the reusability and modularity of our Puppeteer-based functions, making it easier to maintain and update our automation scripts.
Setting up AWS Lambda Puppeteer
To get started with serverless Puppeteer automation, follow these steps:
Step 1. Install Puppeteer
Step 2. Choose a serverless platform: Popular options include AWS Lambda, Azure Functions, and Google Cloud Functions. For this guide, we are going to use AWS Lambda.
Step 3. Set up the AWS CLI and configure your credentials.
Partner with Us for Success
Experience seamless collaboration and exceptional results.
Step 4. Create a new Lambda function and configure it to use the Node.js runtime.
Creating Serverless Functions with Puppeteer
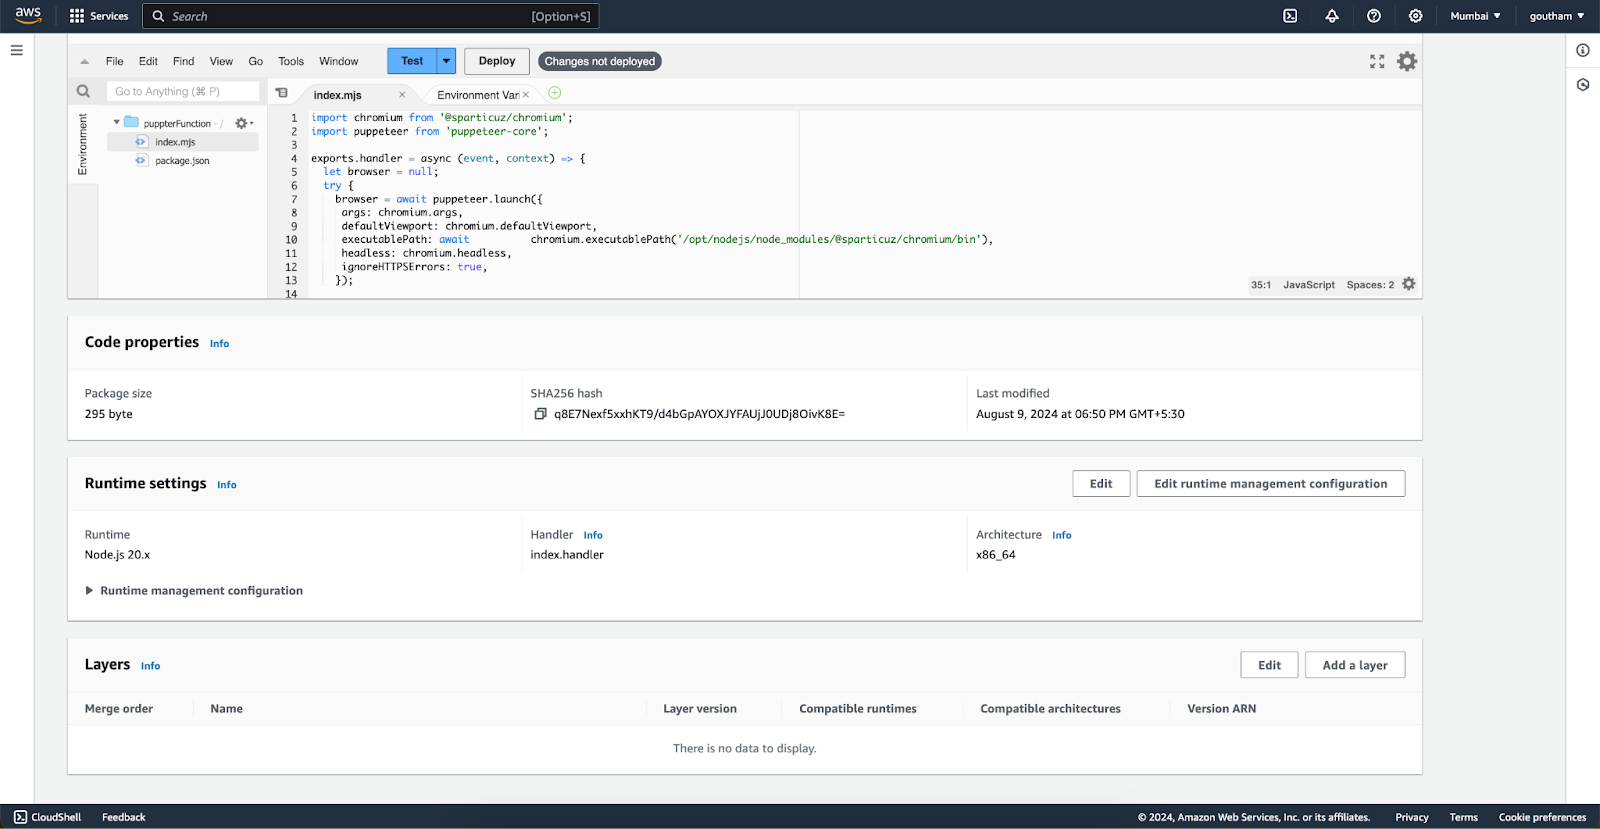
Here's a basic example of a serverless function using Puppeteer to take a screenshot of a website:
import chromium from '@sparticuz/chromium';
import puppeteer from 'puppeteer-core';

export const handler = async (event) => {
  let browser = null;
    let result = null;

    try {
        browser = await puppeteer.launch({
           args: chromium.args,
            defaultViewport: chromium.defaultViewport,
            executablePath: await chromium.executablePath('/opt/nodejs/node_modules/@sparticuz/chromium/bin'),
            headless: chromium.headless,
            ignoreHTTPSErrors: true,
        });

        const page = await browser.newPage();

        await page.goto(event.url || 'https://example.com');

        const screenshot = await page.screenshot({ encoding: 'base64' });

        result = {
            statusCode: 200,
            headers: {
                'Content-Type': 'image/png',
            },
            body: screenshot,
            isBase64Encoded: true,
        };
    } catch (error) {
        console.error(error);
        result = {
            statusCode: 500,
            body: JSON.stringify({ error: error.message }),
        };
    } finally {
        if (browser) {
            await browser.close();
        }
    }

    return result;
};
This function takes a URL as input, navigates to the web page, and returns a base64-encoded screenshot. (note we are using @sparticuz/chromium for chromium-browser because we are using chromium lambda layers provided by sparticuz/chromium arn link in aws).
Leveraging Layers for Modularity and Reusability
Layers in serverless computing allow you to package and share common code and dependencies across multiple functions. For Puppeteer, we can create a layer containing Puppeteer and its dependencies:
When working with Puppeteer on Lambda, using layers can significantly improve the management and deployment of your functions. This is especially useful when you have multiple functions that require Puppeteer.
1. Create a directory for your layer
mkdir puppeteer-layer && cd puppeteer-layer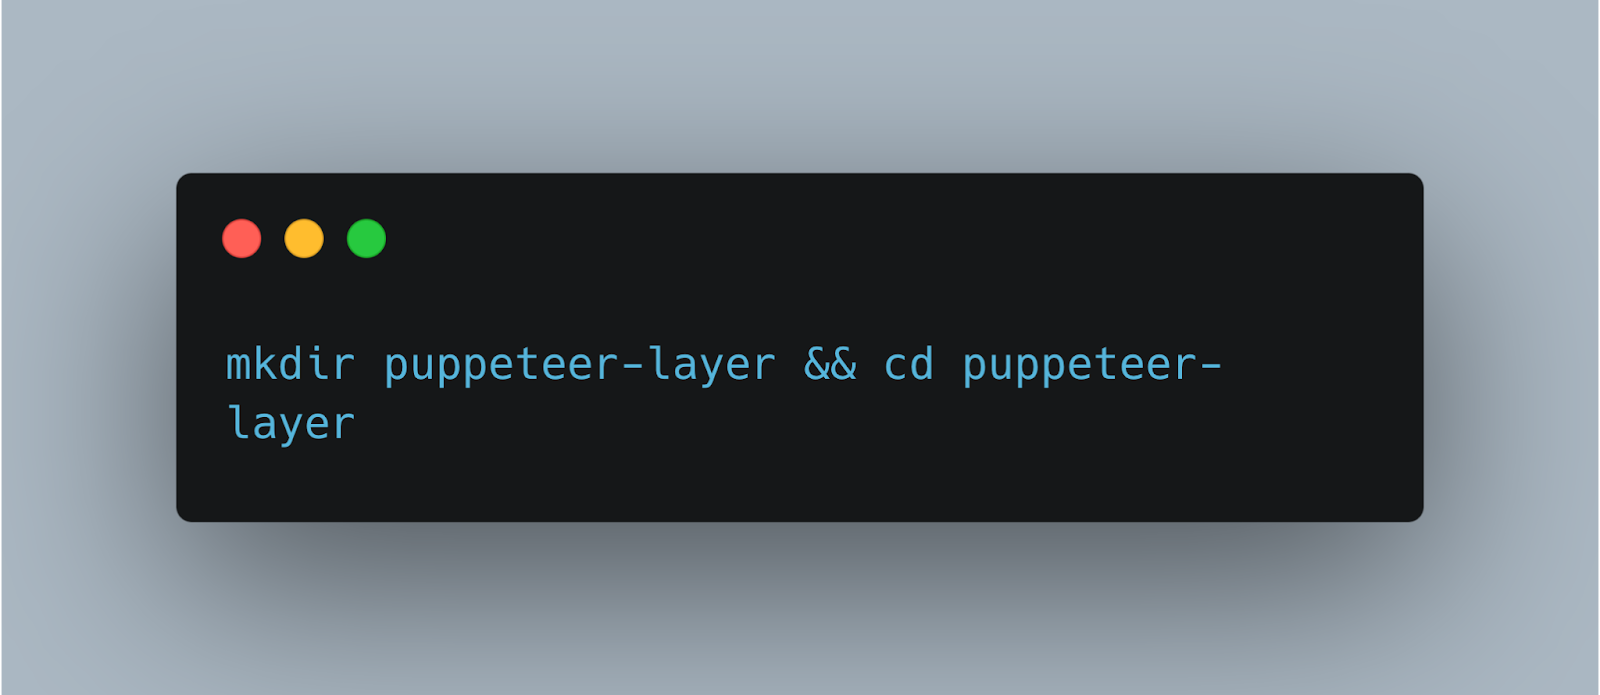
2. Initialize a new Node.js project and install Puppeteer
npm init -y
npm install puppeteer
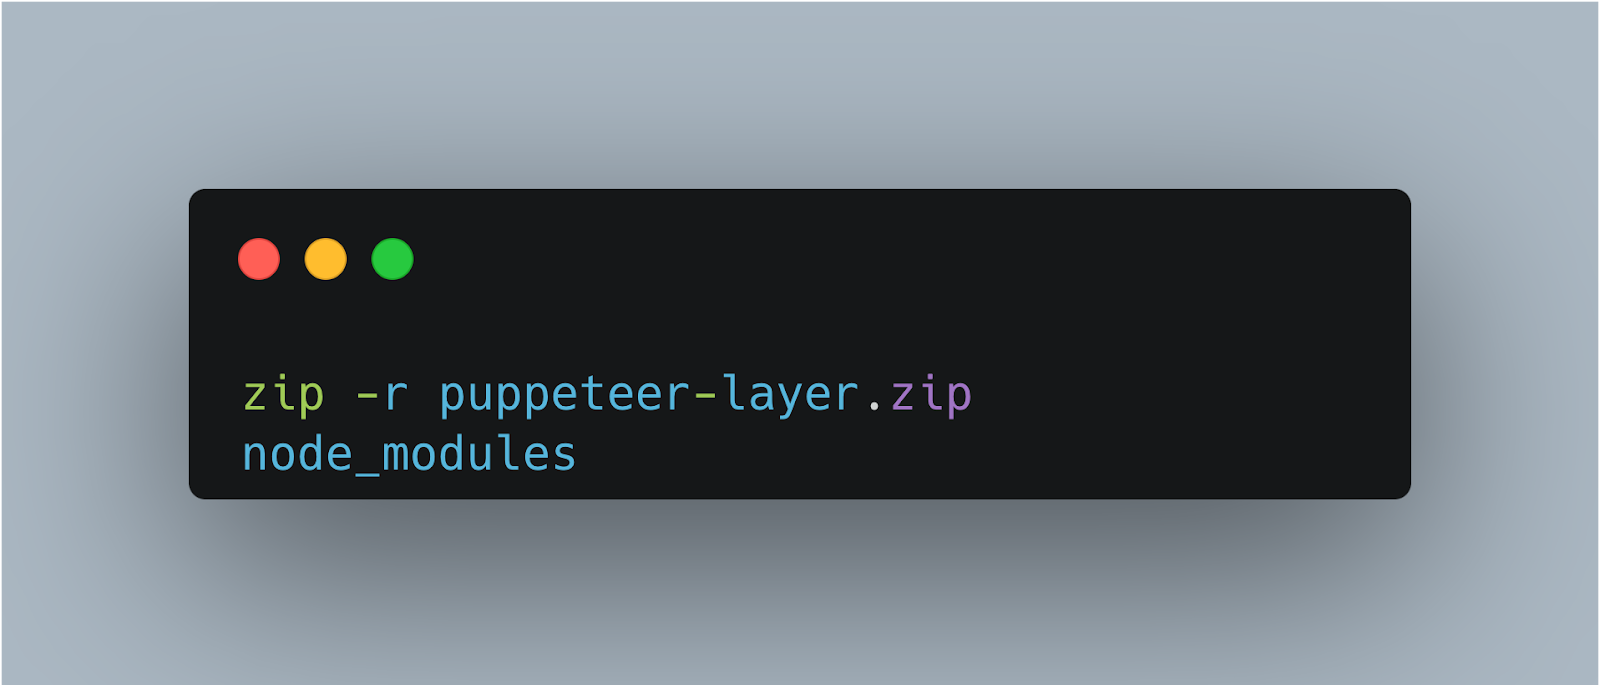
3. Zip the contents of the node_modules folder
zip -r puppeteer-layer.zip node_modules
4. Upload this zip file as a new layer in your serverless platform
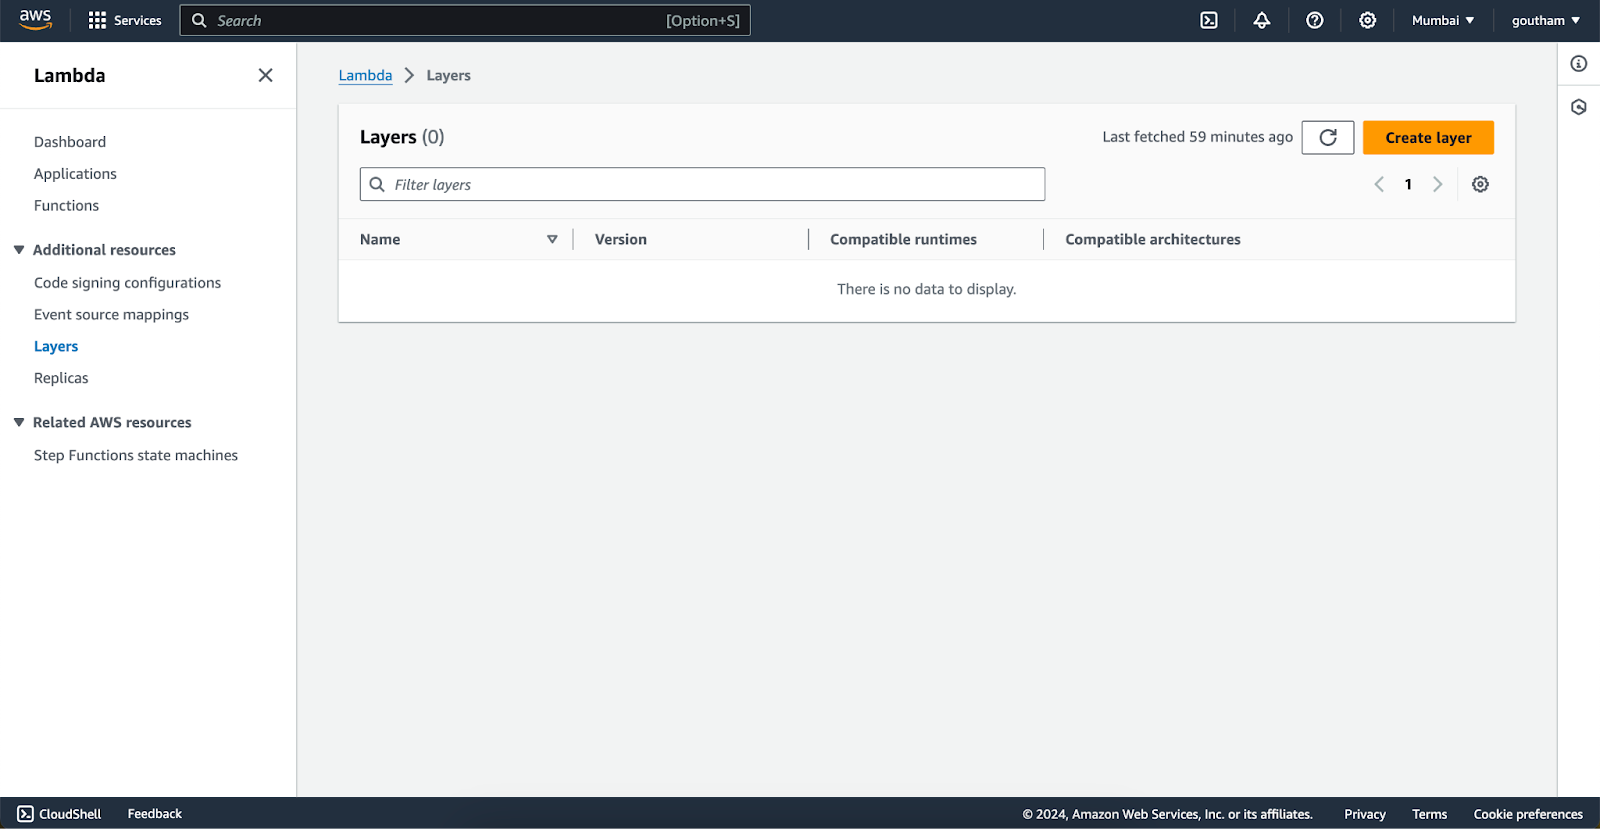
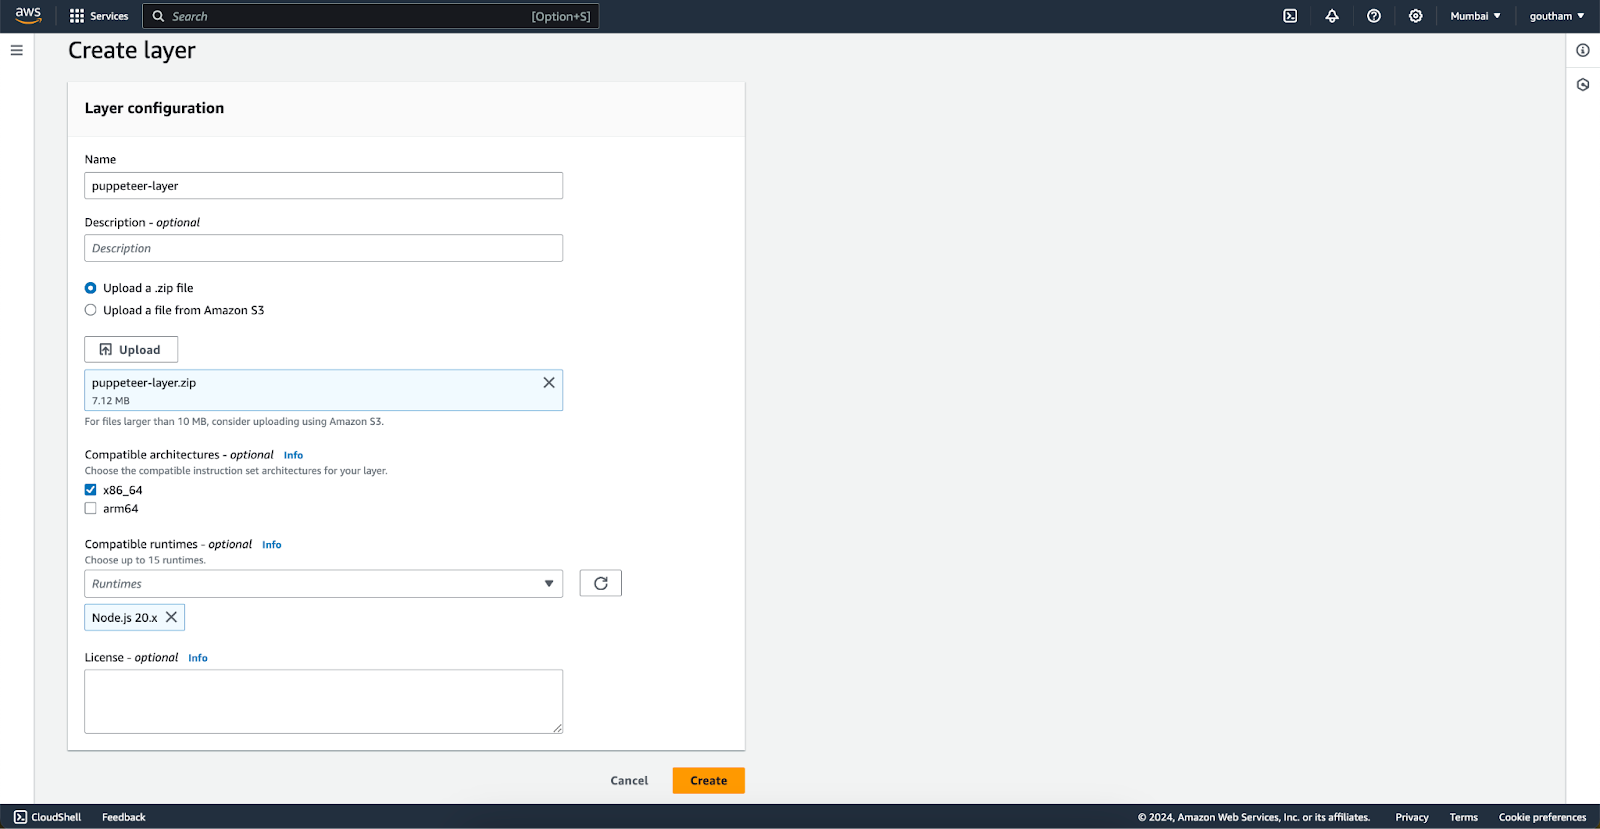
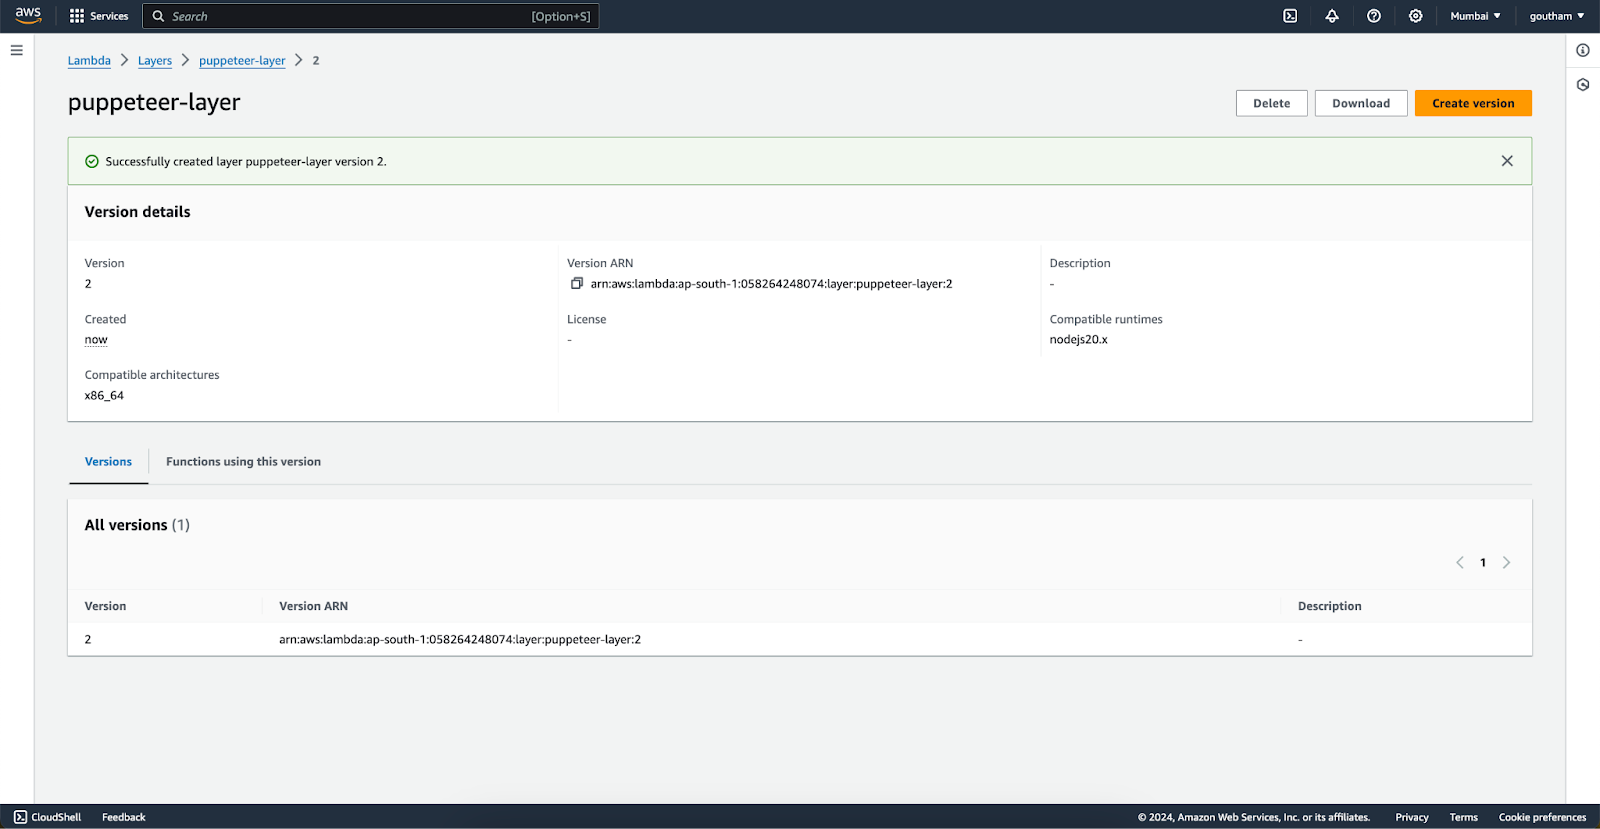
Create and add the layer in the aws layers window then attach it to the respective lambda function
5. Attach the layer to your Lambda functions that require Puppeteer
Click on Add Layers and Specify ARN add the below link then verify and add
Partner with Us for Success
Experience seamless collaboration and exceptional results.
Note: Add the browser version along with the region based on your configuration and click on add.
arn:aws:lambda:ap-south-1:764866452798:layer:chrome-aws-lambda:46Ref: https://github.com/shelfio/chrome-aws-lambda-layer?tab=readme-ov-file
Again add the layer custom layer we custom-made, We also need to change the Executable path to start from /opt/ for the custom layer to work with the lambda function.
By using layers, you can keep your function code lean and easily update Puppeteer across all your functions by updating the layer.
Now if you check the layers we have two layers that we added.
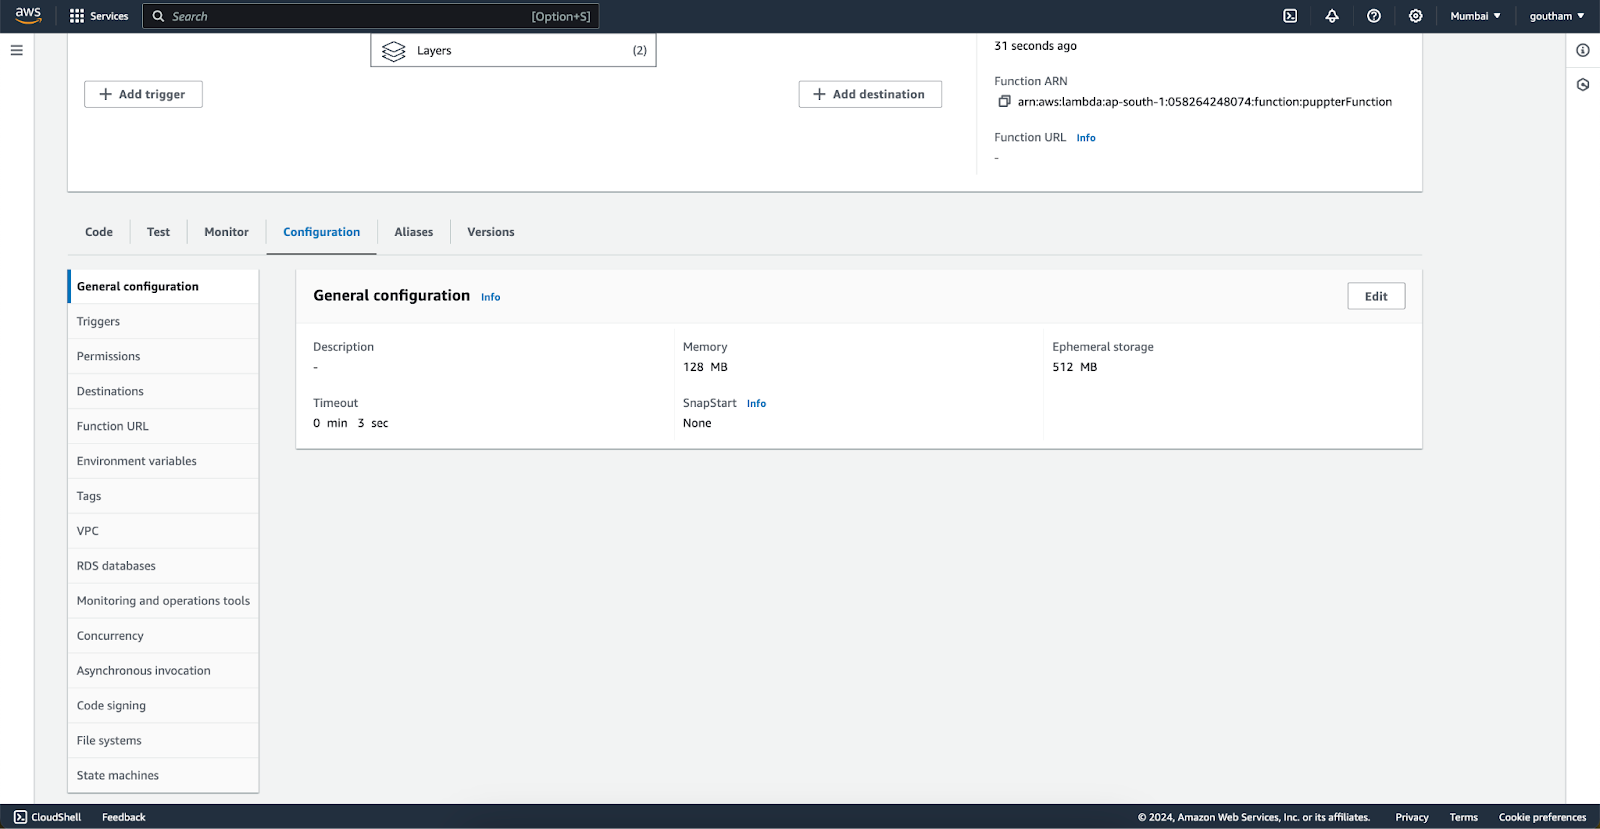
To run the browser in lambda we need at least 2 GB of RAM and a timeout of 3 minutes for the function to run because it needs to open a browser and perform the automation the default 3 seconds wound budge. So go to the configuration tab under the same lambda function.
After the configuration, it should look like this:
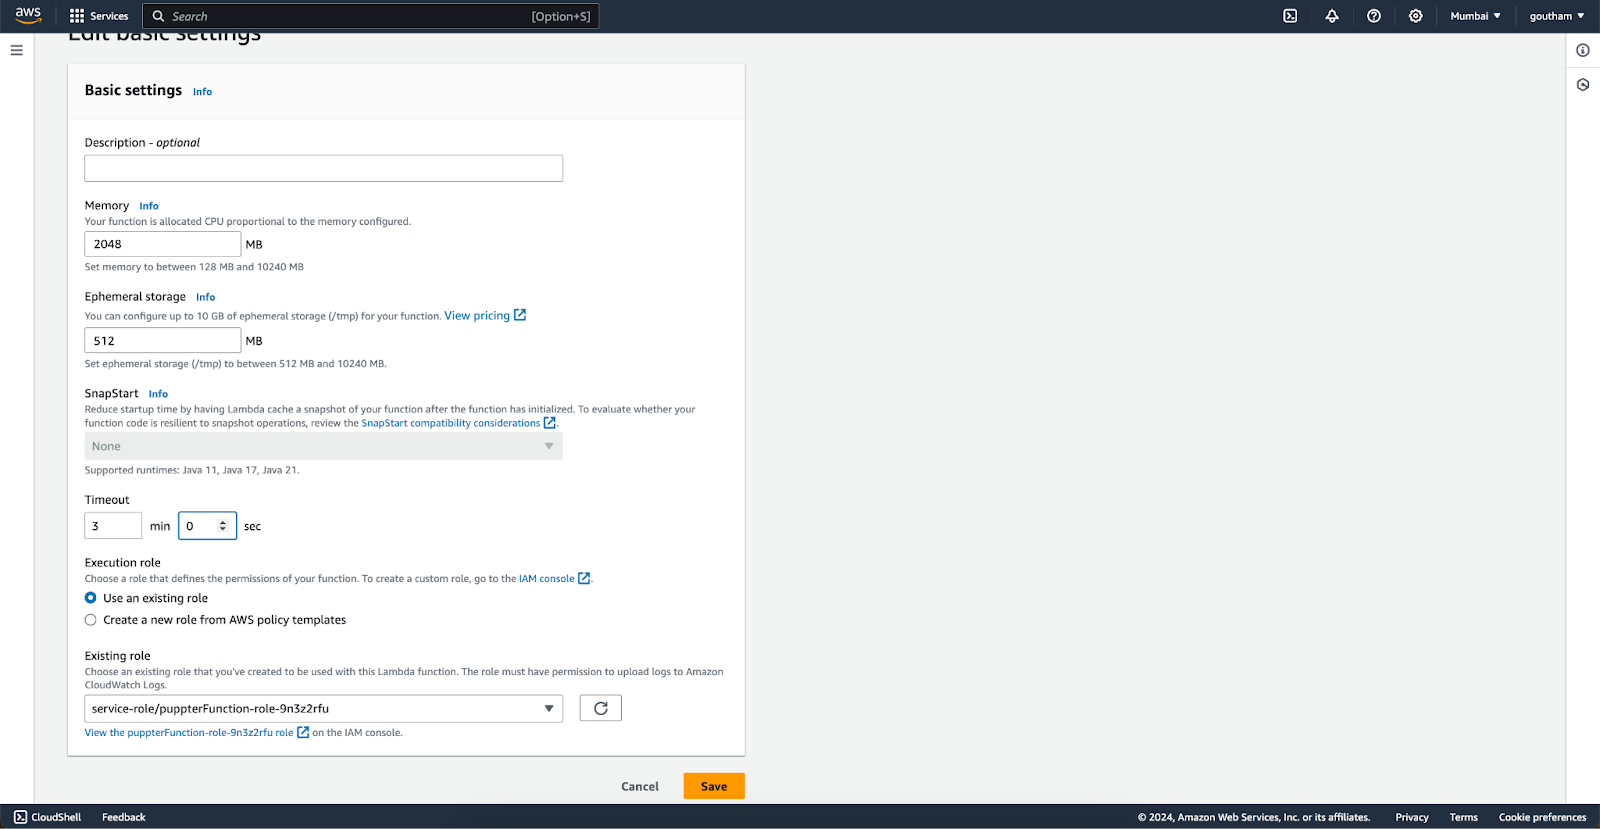
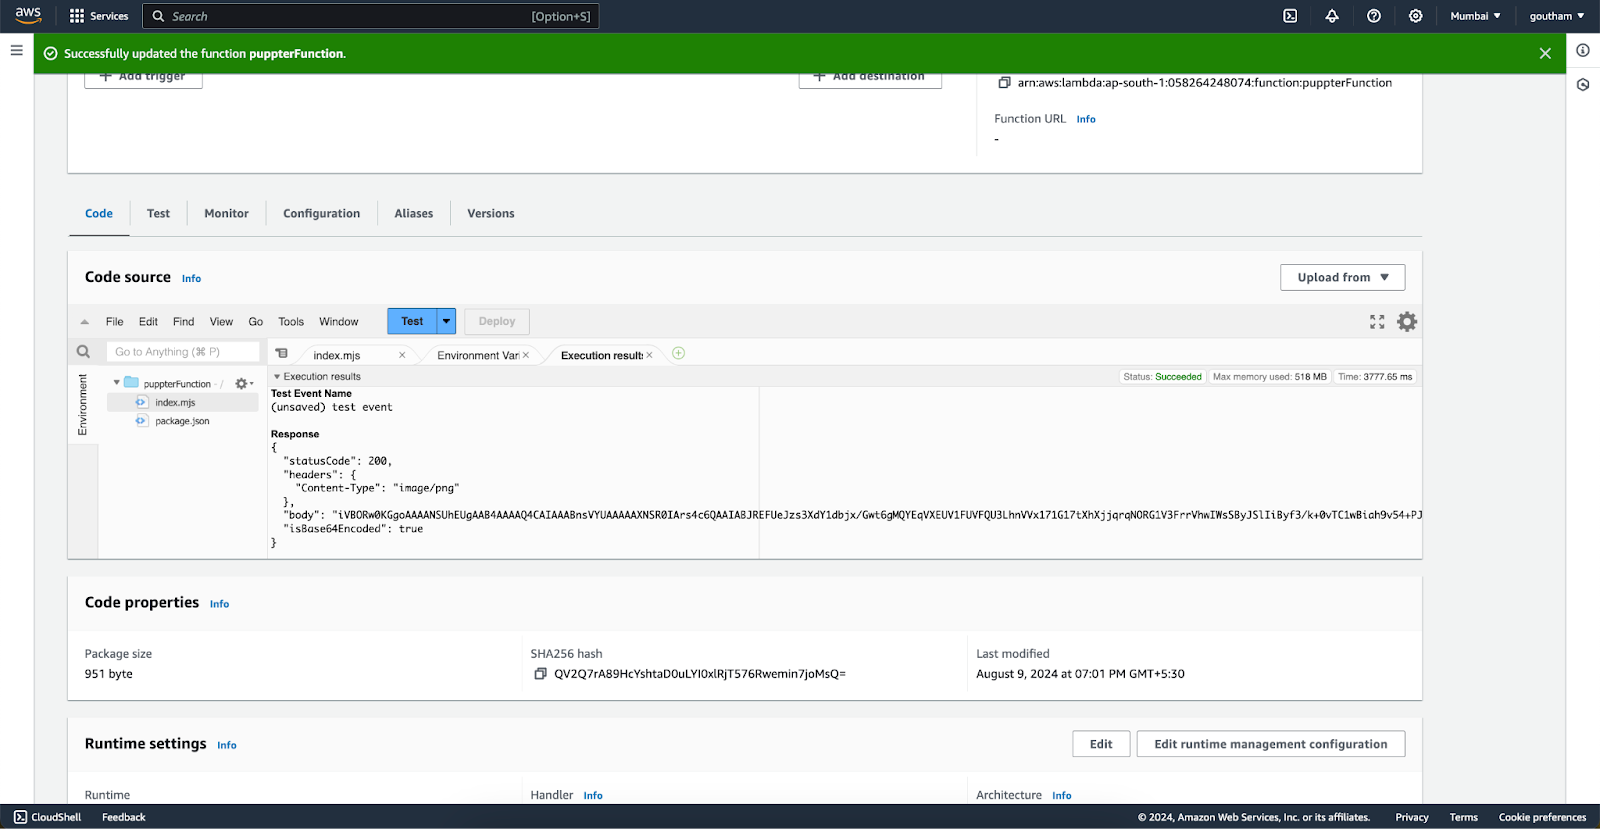
After saving the changes click the deploy button and test it with the test button
Conclusion
Serverless Puppeteer automation with layers provides a powerful, scalable, and cost-effective solution for web scraping, testing, and other automation tasks. By mastering AWS Lambda and Puppeteer integration, developers can create efficient and scalable web automation workflows. Whether you're scraping data, generating reports, or running automated tests, Puppeteer on AWS Lambda provides a flexible and powerful solution.
Ready to get started? Set up your first serverless Puppeteer function today and unlock the potential of scalable web automation!


Goutham Sakthi
Hey, I'm Goutham, a tech enthusiast with 3 years of experience in simplifying complex solutions. I specialize in coding, system design, and making technology accessible through clear explanations.


