

You may have heard about Webhooks when integrating payment providers Stripe, Razorpay, Dwolla, etc in your application. I was working on one of the rails applications and had to integrate Stripe payment in that. So I read about webhook, what it does and integrated with my application.
In this blog, I am going to cover the following things:
- What is a webhook?
- Webhook integration with Stripe payment intent.
What is a WebHook?
A WebHook is an HTTP callback: an HTTP POST that occurs when something happens. With all APIs, there’s a request followed by a response. Even for webhook, the request is made by the payment provider. just the difference is here request is initiated by another server instead of a client-side browser.
WebHook integration with Stripe Payment Intent
To use a webhook, you’ll have to register a URL with the Payment Gateway. This URL is a place within your application that will accept the data and process it. Whenever any change to your payment application happens eg: a customer creating a transfer, adding a new bank account, withdrawing funds, etc., the Payment provider will notify your application server using this webhook endpoint present in your server. It is generally a good practice to record all requests sent to this endpoint by the payment provider and process only the topics that are of application’s interests such as you may only have to process a topic customer_bank_transfer_completed or customer_bank_transfer_failed to mark your payment record with complete / failed.
In my case, I was using the Stripe payment Intent API and integrated the webhook for it.
Here are the following steps.
- Create a model called Webhook and add attributes based on your requirements (like event, event_type).
- Create a controller called webhook_controllers.rb
- Write an action called create.
- Add route in config/routes.rb file
resources :webhooks, only :createThe migration will look like:
class CreateWebhooks < ActiveRecord::Migration[6.0]
  def change
    create_table :webhooks do |t|
      t.json :event
      t.string :event_type
      t.timestamps
    end
  end
end
Paste the following code inside webhook_controllers.rb
def create
      payload = request.body.read
      begin
        event = Stripe::Webhook.construct_event(
          payload, signature_header, endpoint_secret
        )
      rescue JSON::ParserError => e
        # Invalid payload
        render json: {success: false, message: "Invalid payload"}, status: 400 and return
      rescue Stripe::SignatureVerificationError => e
        # Invalid signature
        render json: {success: false, message: "Invalid signature"}, status: 400 and return
      end
json_data = JSON.parse(event.to_json)
      stripe_webhook = Webhook.create!(event: json_data, event_type: json_data["type"])
      render json: {success: true, message: "successfully stored"}, status: :ok
  end
private
def signature_header
      request.env['HTTP_STRIPE_SIGNATURE']
  end
def endpoint_secret
       Rails.application.credentials.stripe.dig(:webhook_endpoint_secret)
  end
You will find endpoint_secret in the stripe dashboard. First, log in to the dashboard, click on test mode then go to Developers -> Webhooks -> signing secret as shown in the image. Click to reveal.
Partner with Us for Success
Experience seamless collaboration and exceptional results.

Add your endpoint to the stripe dashboard. suppose your URL is https://mydomain.com/webhooks and select the event that you want to receive data for. You can see in the below image.
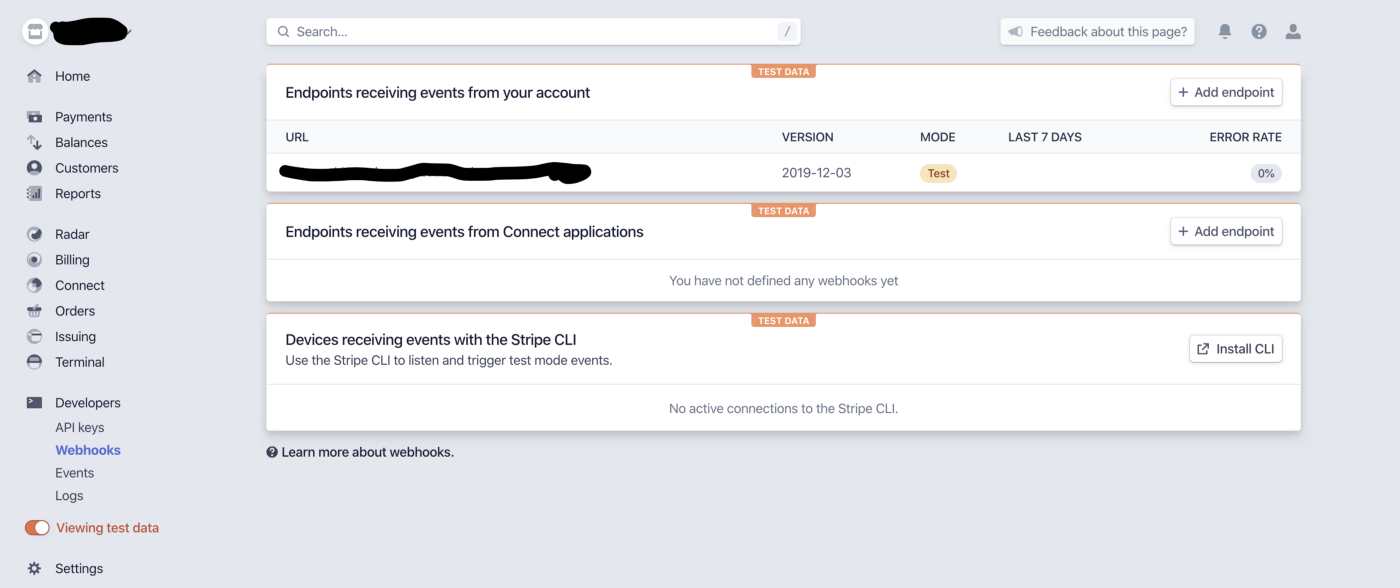
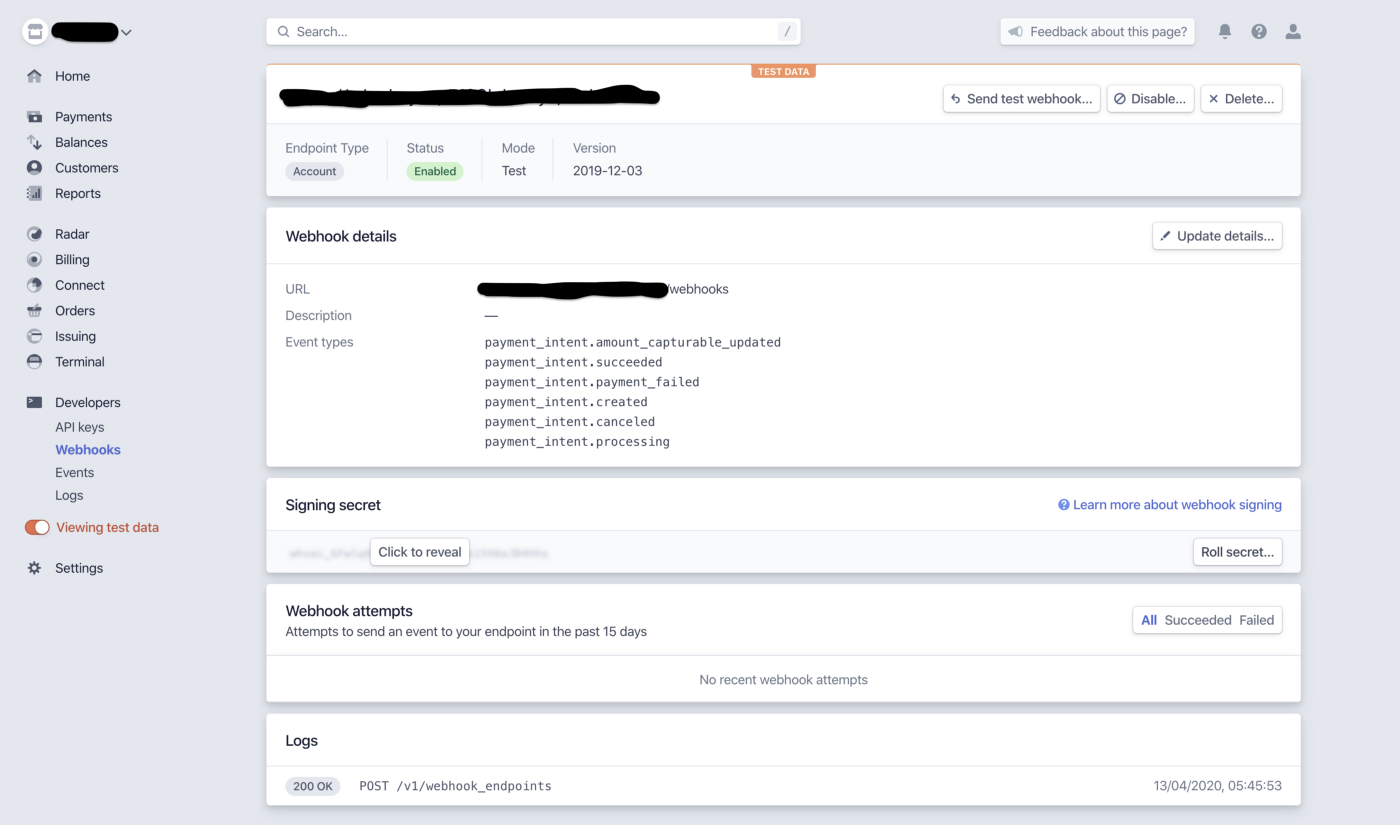
After setting up everything, you can send a test webhook and test your endpoint whether it is working perfectly or not.
Partner with Us for Success
Experience seamless collaboration and exceptional results.
Conclusion
And that’s it! Did this work for you? Please leave any questions and comments below!
Thank you for reading!
If you found this article helpful, 👏👏👏


Murtuza Kutub
A product development and growth expert, helping founders and startups build and grow their products at lightning speed with a track record of success. Apart from work, I love to Network & Travel.


